Integrating Ultimate Multisite with Zapier
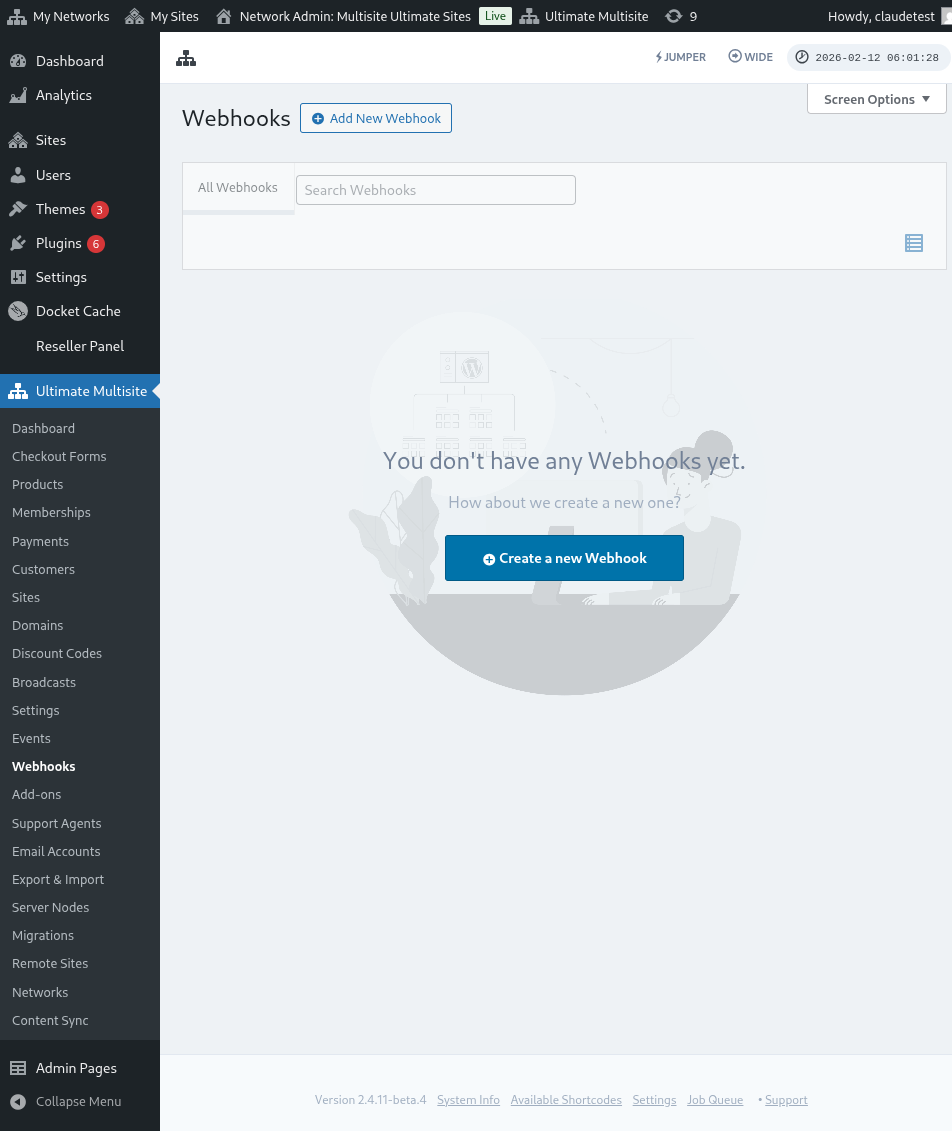
In one of the articles, we discussed Webhooks and how they can be used to integrate with 3rd party applications.
Using webhooks is a bit complicated as it requires advanced knowledge in coding and catching payloads. Using Zapier is a way for you to get around that.
Zapier has integration with over 5000+ apps which makes communication between different applications easier.
You can create Triggers that will be set off when events happen on your network (eg an account is created and triggers the account_create event) or generate Actions on your network reacting to external events (eg create a new account membership in your Ultimate Multisite network).
This is possible because Ultimate Multisite Zapier's triggers and actions are powered by the REST API.
How to start
First, search for Ultimate Multisite in the Zapier app list. Alternatively, you can click this link.
Go to your dashboard and press the + Create Zap button on the left sidebar to set up a new Zap.
You will be redirected to the Zap creation page.
In the search box type "wp ultimo". Click to choose the Beta version option.
After selecting our app, choose the available event: New Ultimate Multisite Event.
Now we need to give Zapier access to your network. Clicking in Sign in will open a new window requiring the API credentials.
Go to your network admin panel and navigate to Ultimate Multisite > Settings > API & Webhooks and look for the API Settings section.
Select the Enable API option as it is required for this connection to work.
Use the Copy to Clipboard icon on the API Key and API Secret fields and paste those values on the integration screen.
On the URL field, put your network full URL, including the protocol (HTTP or HTTPS).
Click the Yes, Continue button to move on to the next step. If everything works out, you should be greeted by your new connected account! Click to Continue to create a new trigger.
How to create a new Trigger
Now that your account is connected you can see available events. Let's choose the payment_received event for this tutorial.
Once the event has been selected and you click to continue , a test step will appear.
In this stage, Zapier will test if your Zap can fetch the specific payload to that event. In future events of the same type, information with this same structure will be sent.
In our tutorial the test was completed successfully and returned the payload example information. This example information will be useful to guide us while creating actions. Your trigger is now created and ready to be connected to other applications.
How to create Actions
Actions use information from other triggers to create new entries in your network.
In the creating an action step you will choose the Ultimate Multisite Beta and the option of Create Items on Ultimate Multisite.
In the next step you will either create your authentication, just like we did in How to start , or select a created authentication. In this tutorial we will choose the same authentication previously created.
Setting up the Action
This is the main step of the action and here things are a little different. The first information you will choose is the Item. Item is the information model of your network such as Customers, Payments, Sites, Emails and others.
When selecting an item, the form will rearrange to bring the required and optional fields for the selected item.
For example, when selecting the item Customer , the form fields will bring everything that is necessary to fill in to create a new Customer in the network.
After filling in all fields marked as required and clicking on continue, a last screen will show you the filled fields and the fields that were left unfilled.
As soon as your test completes and is successful your action is configured. It is also important to check on your network if the item was created with the test of your action.