Installing Ultimate Multisite
This tutorial assumes you already have WordPress Multisite installed and configured. To learn how, check out this tutorial by WP Beginner.
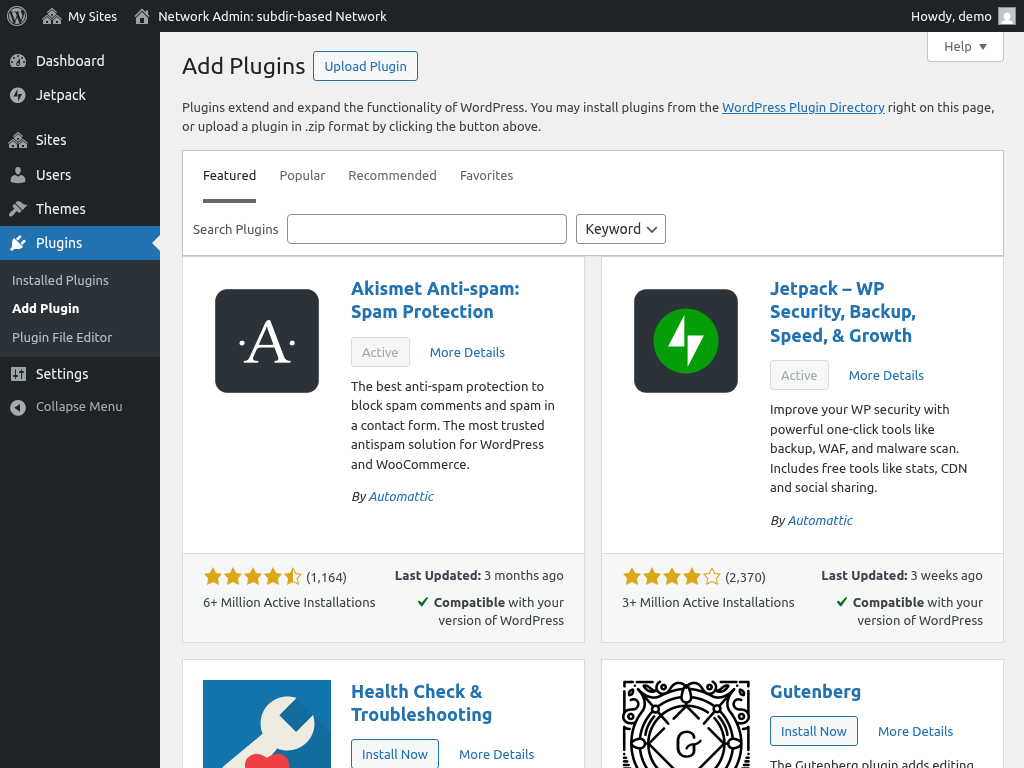
Installing the Plugin
Ultimate Multisite is available for free on WordPress.org.
From your Network Admin Dashboard, go to Plugins → Add New Plugin.
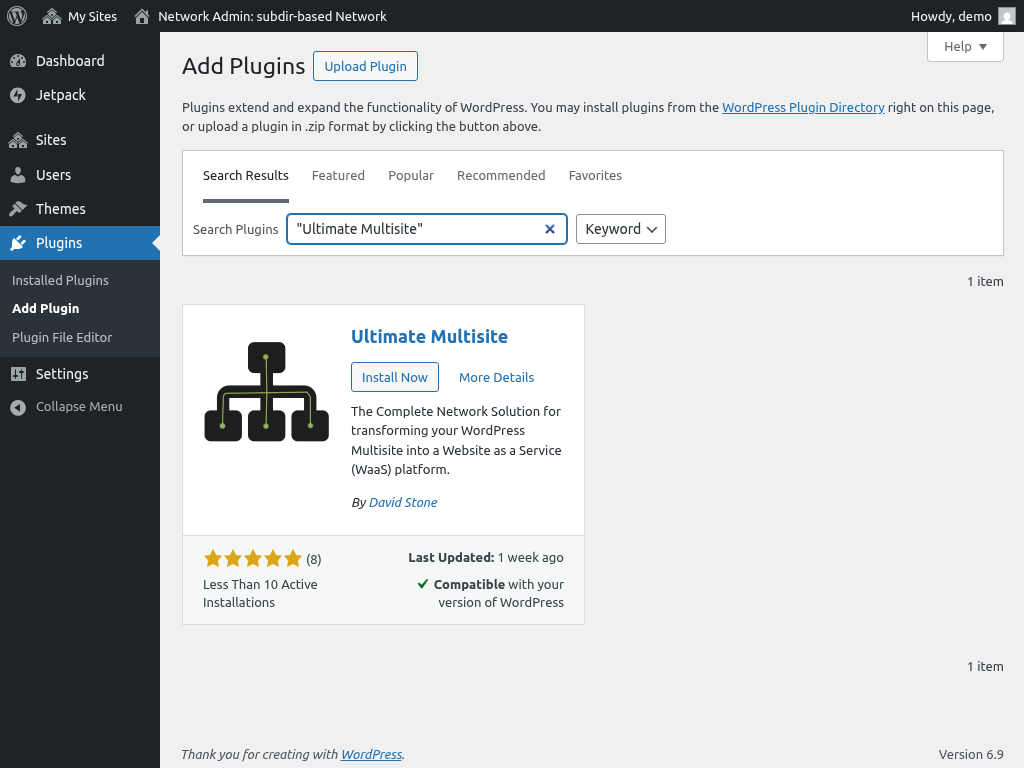
Search for "Ultimate Multisite" (with quotes for an exact match) and it will appear as the first result. Click Install Now.
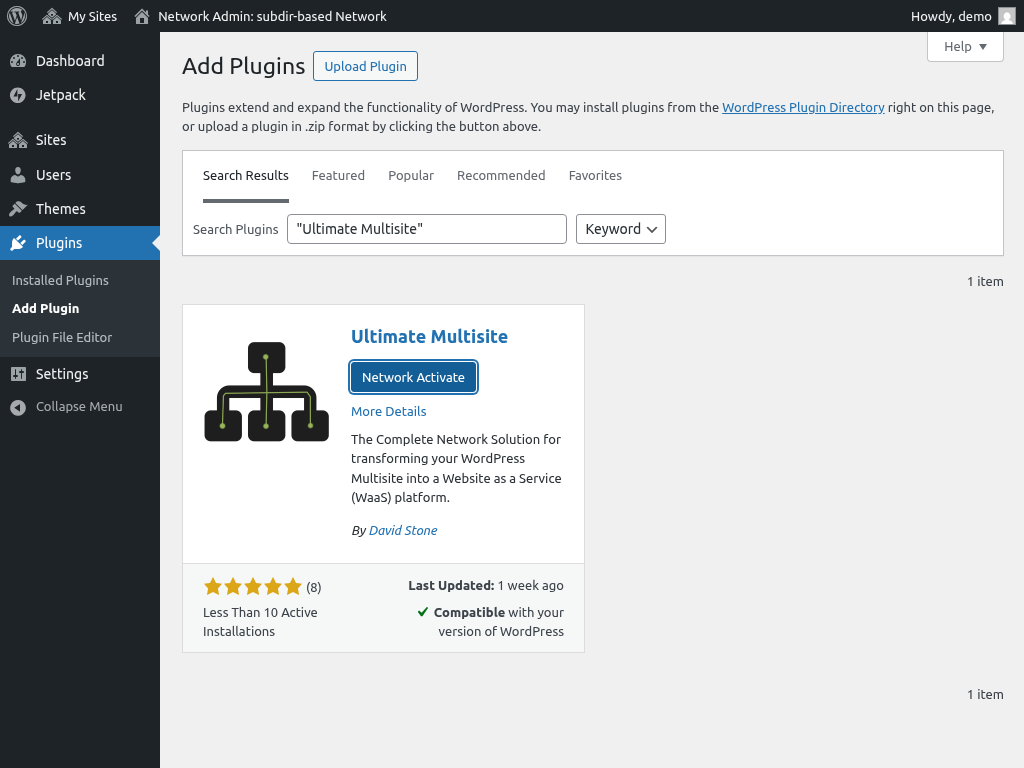
Once installed, click Network Activate to activate the plugin across your entire network.
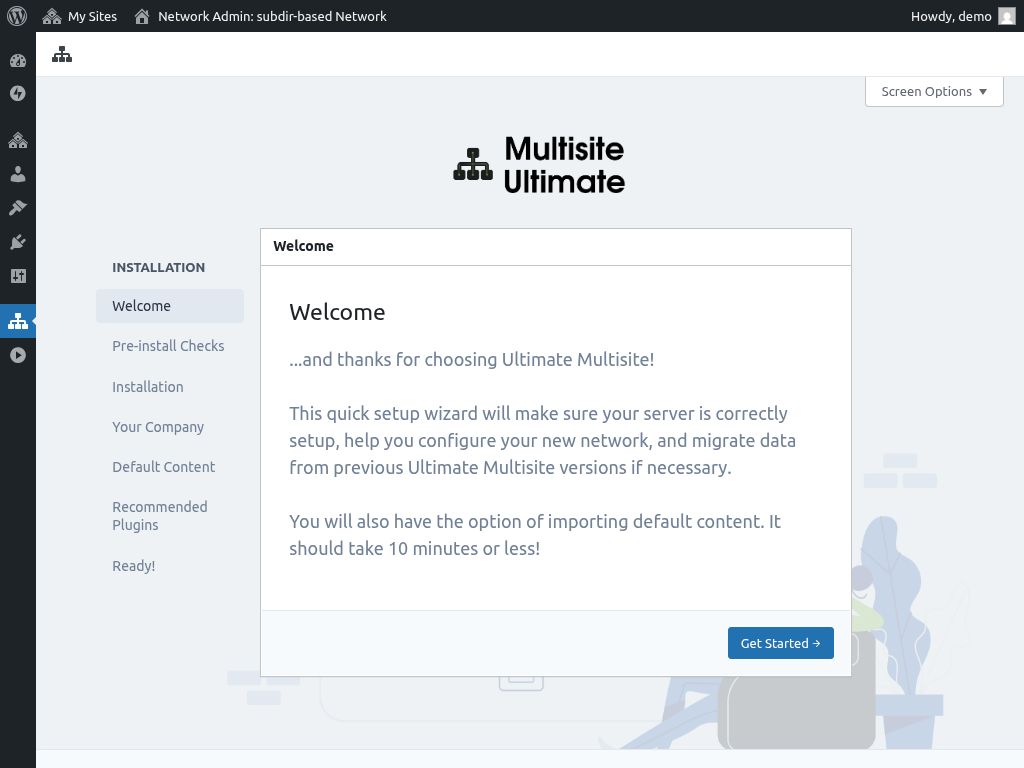
After activation, you'll be automatically redirected to the Setup Wizard.
Setup Wizard
The Setup Wizard will guide you through configuring Ultimate Multisite in about 10 minutes.
Welcome
Click Get Started to begin.

Pre-install Checks
This step checks your system information and WordPress installation to make sure it meets Ultimate Multisite's requirements. If everything looks good, click Go to the Next Step.
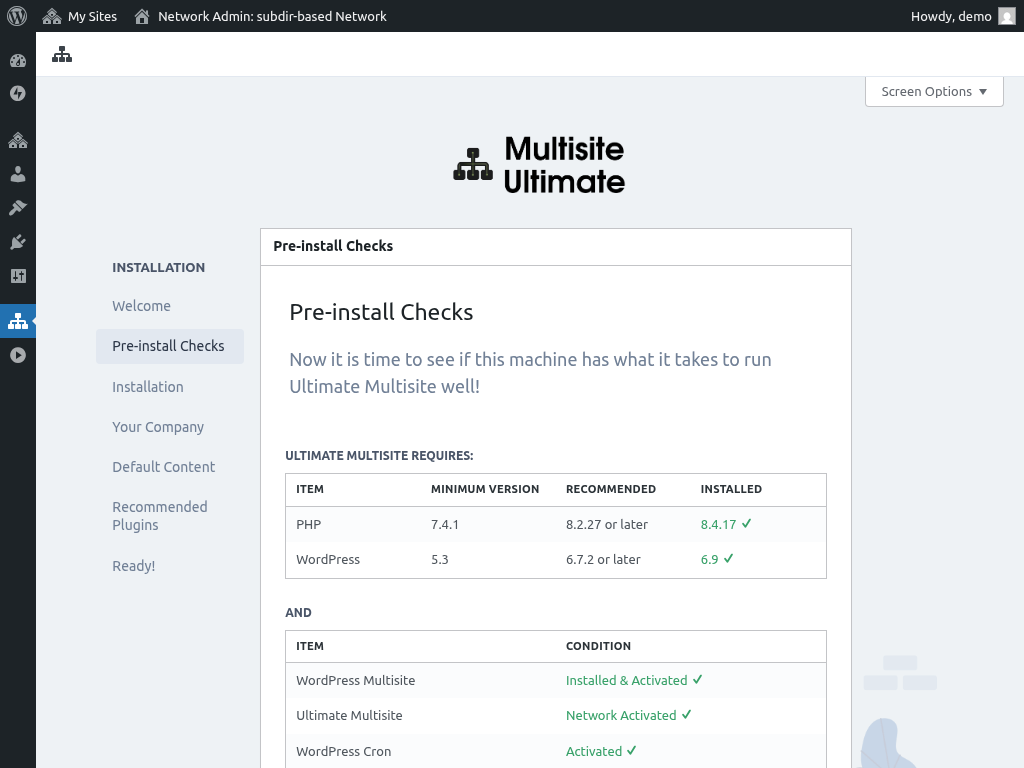
If Ultimate Multisite was installed but not yet network-activated — for example, if you clicked Activate (single-site) instead of Network Activate from the network plugins screen — the Pre-install Checks step will detect this and display a Network Activate button.
Clicking Network Activate activates the plugin across your entire multisite network automatically. Once activated, the wizard continues normally to the installation step. You do not need to leave the wizard to fix the activation state.
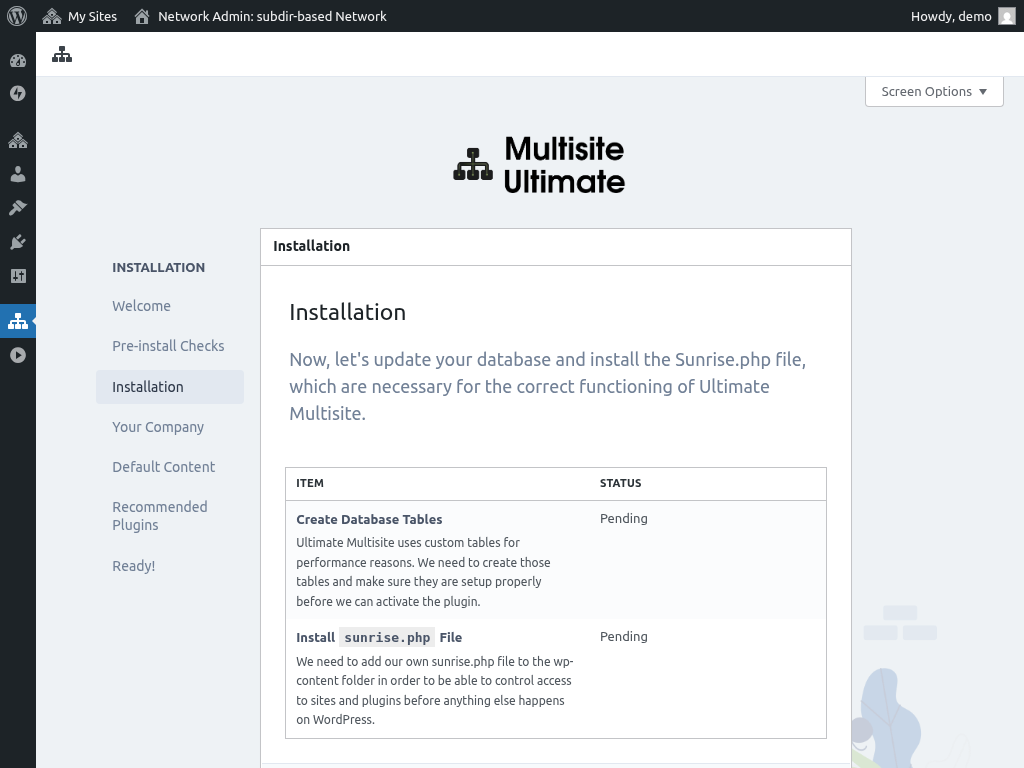
Installation
The installer will create the necessary database tables and install the sunrise.php file that Ultimate Multisite needs to function. Click Install to proceed.
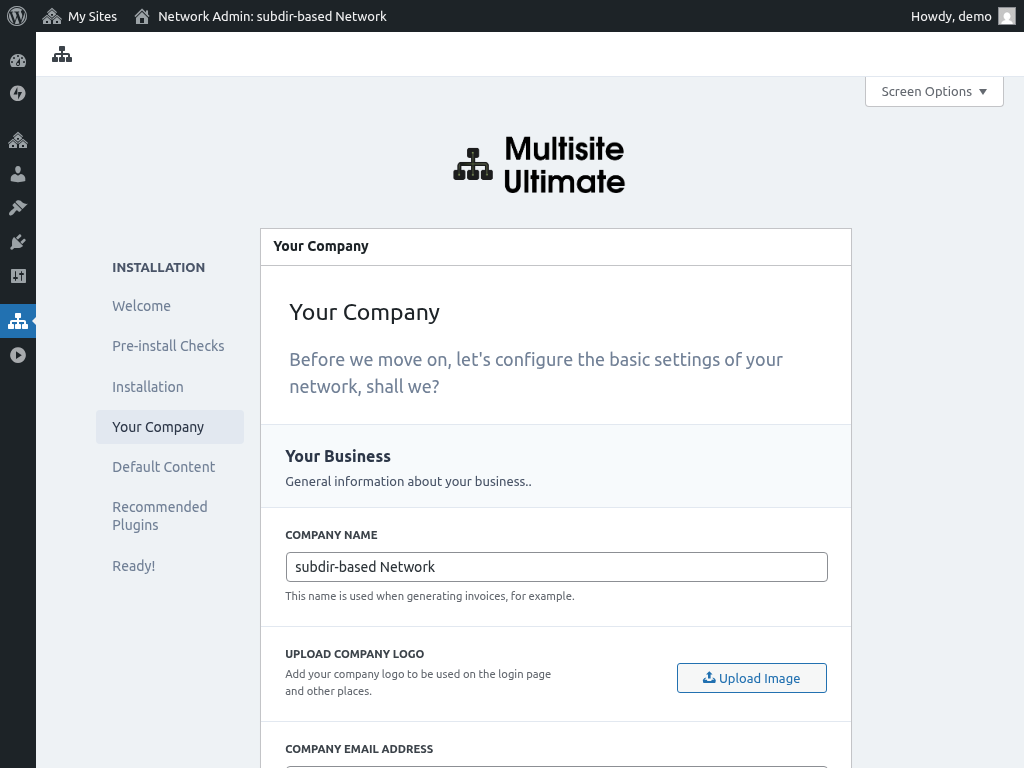
Your Company
Fill in your company information and set your default currency. This information will be used throughout your WaaS platform. Click Continue when done.
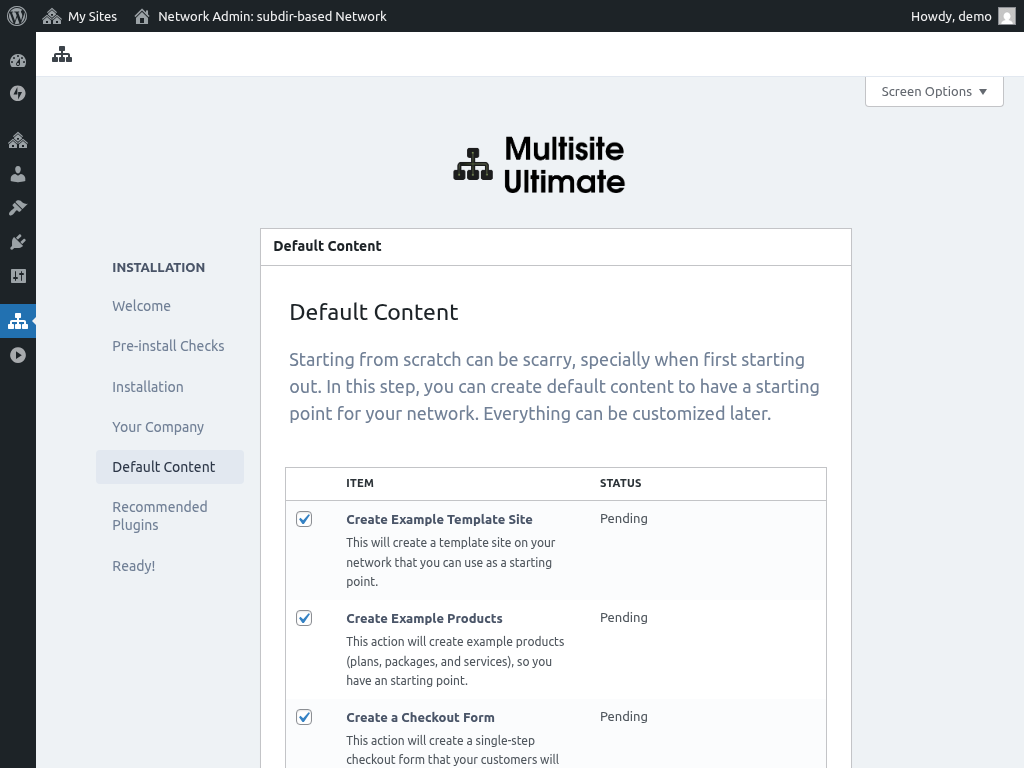
Default Content
This step lets you install predefined templates, products, and other starter content. This is a great way to get familiar with Ultimate Multisite's features. Click Install to add the default content, or skip this step if you prefer to start from scratch.
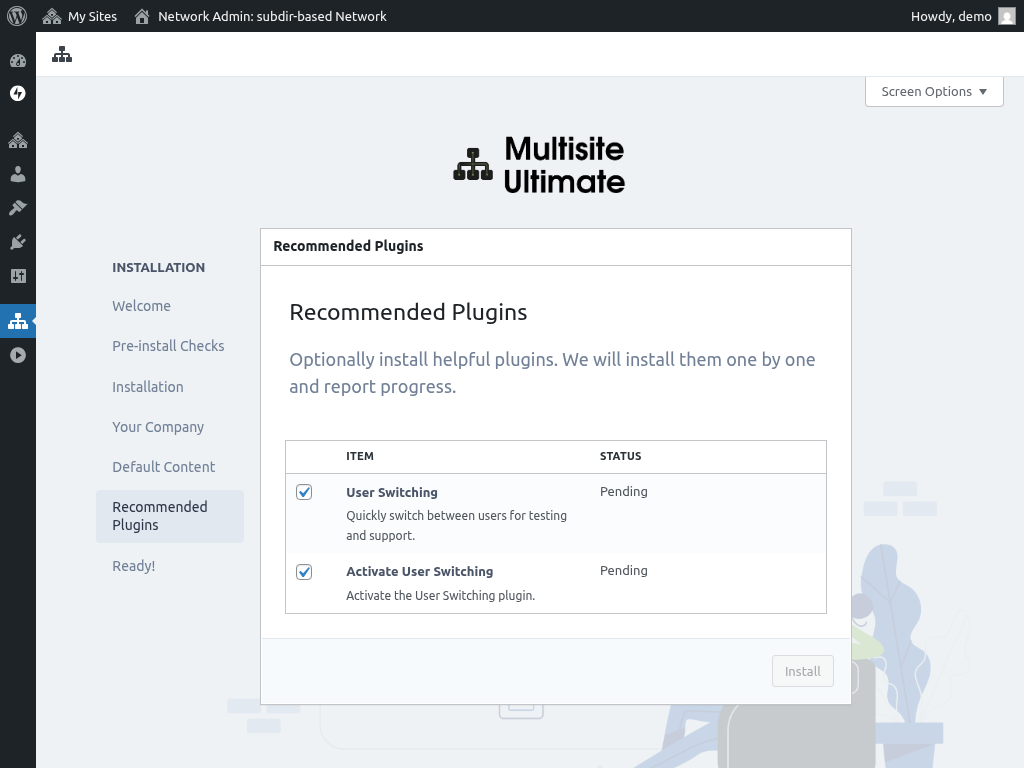
Recommended Plugins
Optionally install recommended companion plugins. Click Install to add them or skip to continue.
Ready!
That's it! Your Ultimate Multisite installation is complete. You can now start building your Website as a Service platform from the Network Admin Dashboard.
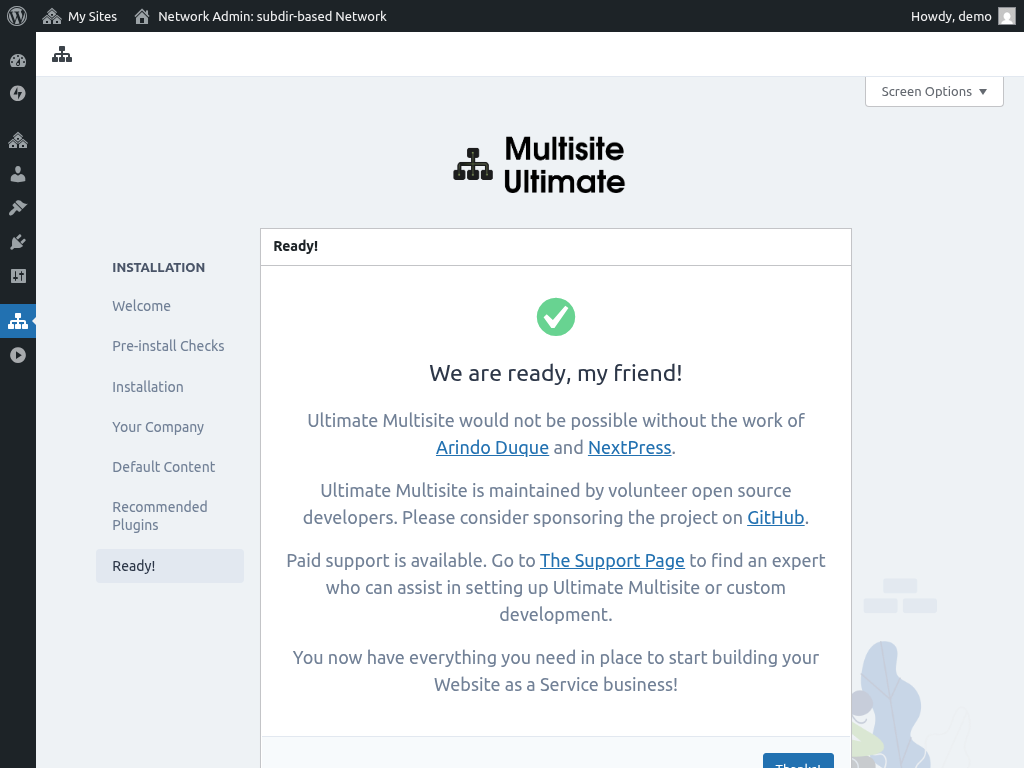
Go ahead and have some fun!