محدد اللغة
Multisite Ultimate: محدد اللغة في التسجيل
Add a language selector field to the sign-up flow. → أضف حقل محدد اللغة إلى عملية التسجيل.
التثبيت
- Upload 'ultimate-multisite-language-selector' to the '/wp-content/plugins/' directory → 1. قم بتحميل 'ultimate-multisite-language-selector' إلى دليل '/wp-content/plugins/'
- Activate the plugin through the 'Plugins' menu in your WordPress Network Admin → 2. فعّل الإضافة من خلال قائمة 'الإضافات' في مدير شبكة WordPress الخاصة بك
دليل الاستخدام
With this free add-on you can let your users choose which language they would like to see on the sign-up flow and on the login page. → مع هذه الإضافة المجانية، يمكنك السماح لمستخد�ميك باختيار اللغة التي يرغبون في رؤيتها في عملية التسجيل وفي صفحة تسجيل الدخول.
After activating your license you will be able to install Ultimate Multisite add-ons your license gives you access to. → بعد تفعيل رخصتك ستتمكن من تثبيت إضافات Ultimate Multisite التي تمنحك رخصتك حق الوصول إليها.
Go to your Ultimate Multisite settings page and then, on the menu on the left, click the Add-ons label. → اذهب إلى صفحة إعدادات Ultimate Multisite ثم، في القائمة على اليسار، انقر على تسمية الإضافات.
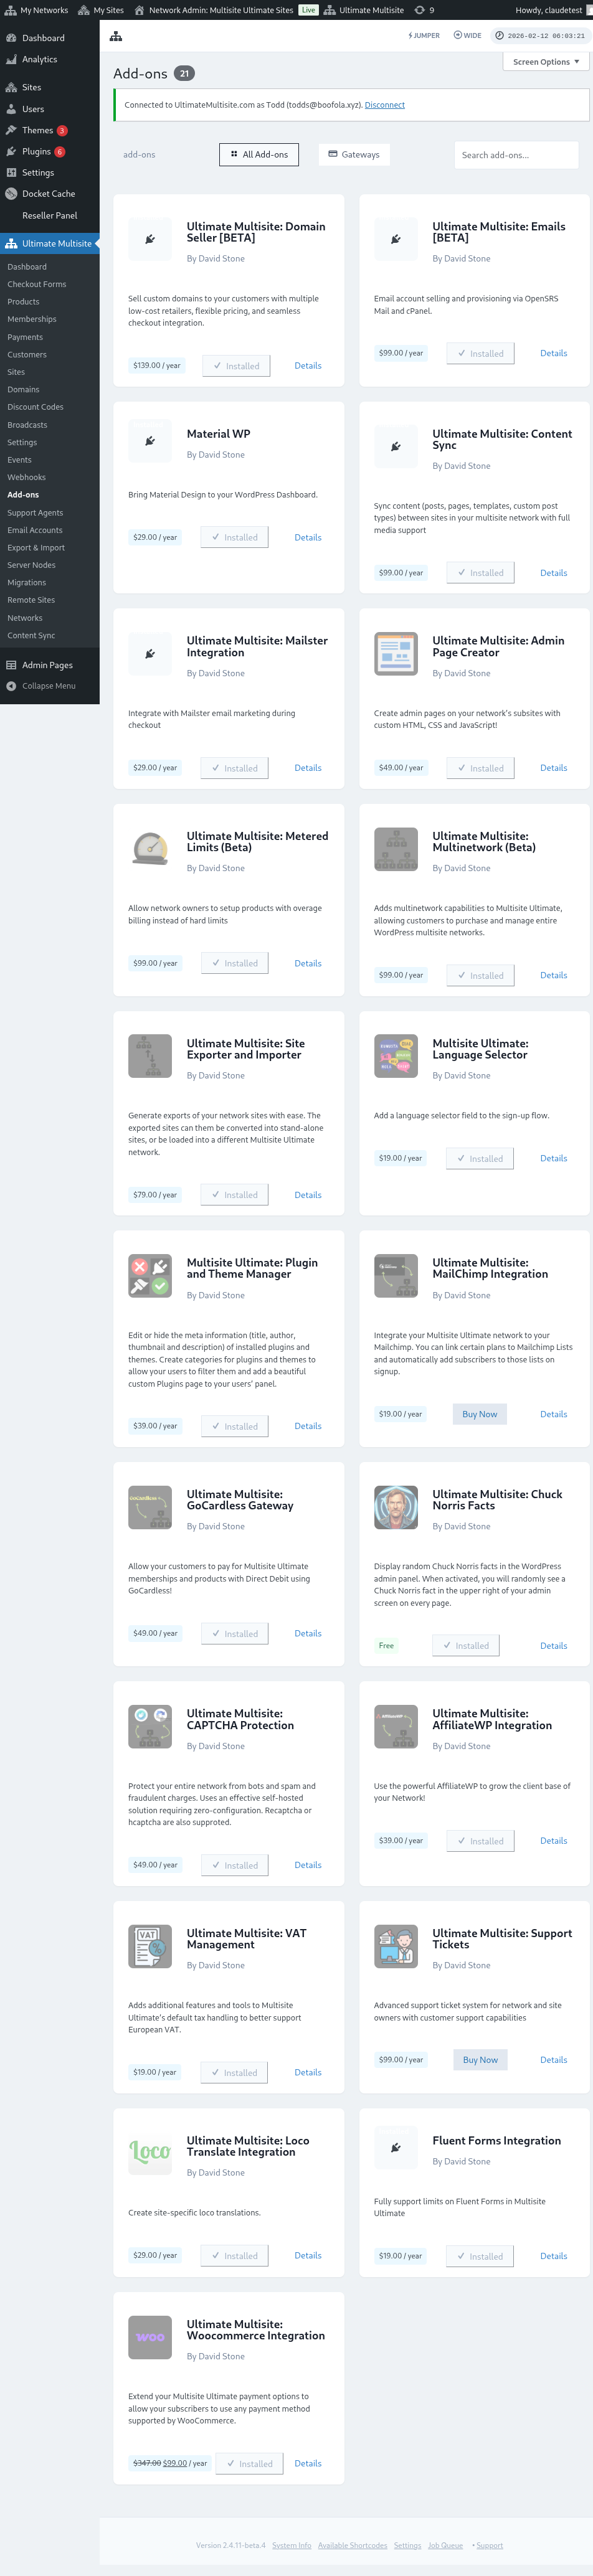
Go to Add-ons page to start installing Language Selector → اذهب إلى صفحة الإضافات لبدء تثبيت محدد اللغة
There, you will find all add-ons we offer. → هناك، ستجد جميع الإضافات التي نقدمها.
Free add-ons are available to all our customers, regardless of the subscription plan they signed up to. → الإضافات المجانية متاحة لجميع عملائنا، بغض النظر عن خطة الاشتراك التي اشتركوا بها.
Click the Install it Now! button bellow the add-on's thumbnail. Then activate it on Plugins page. → انقر على زر تثبيته الآن! أسفل صورة مصغرة الإضافة. ثم فعّله في صفحة الإضافات.
Click the button to install the add-on → انقر على الزر لتثبيت الإضافة
Activate it on your Plugins page → فعّله في صفحة الإضافات الخاصة بك
Now, go to Ultimate Multisite's Settings menu and enter the Network Settings tab. There, at the bottom of the page, you will find a new section called Languages. → الآن، اذهب إلى قائمة إعدادات Ultimate Multisite وادخل علامة تبويب إعدادات الشبكة. هناك، في أسفل الصفحة، ستجد قسمًا جديدًا يسمى اللغات.
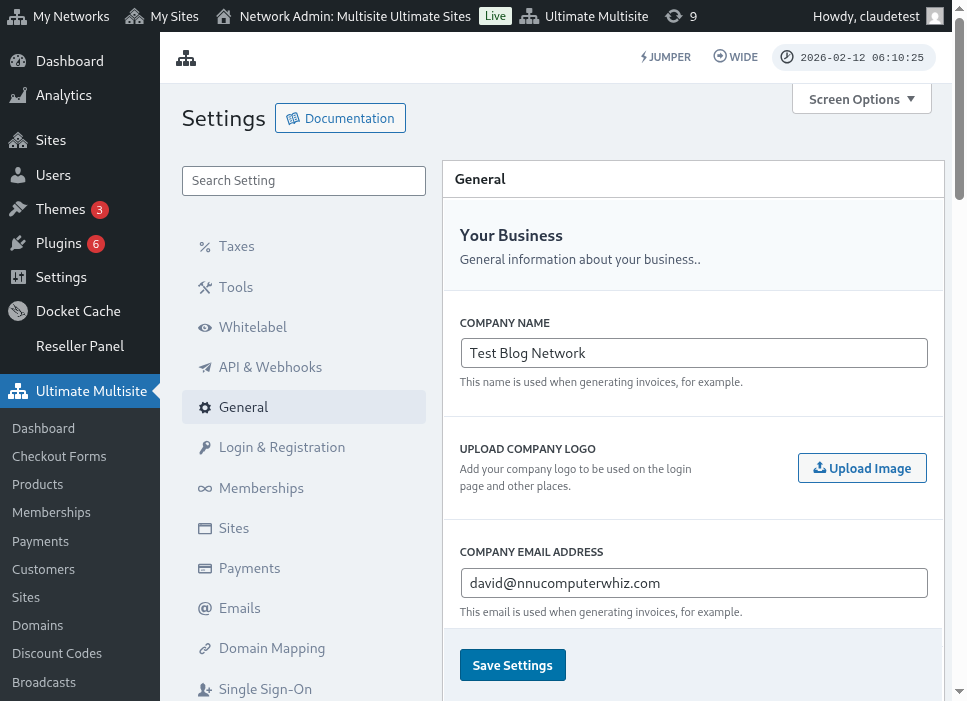
A brand new section appears! → يظهر قسم جديد تمامًا!
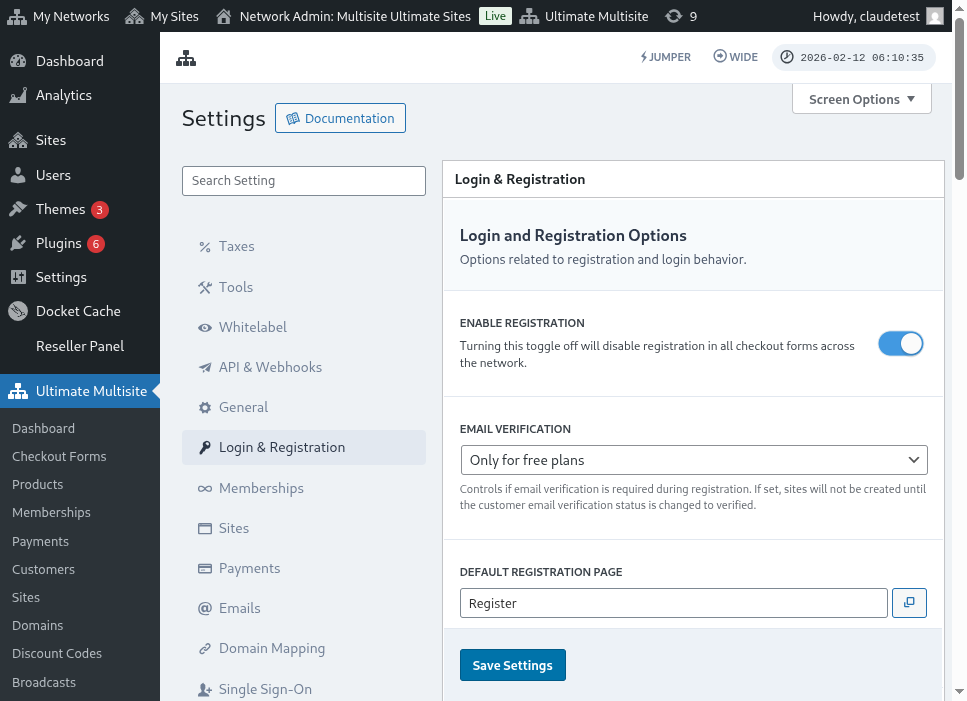
You can leave it blank to display all the languages as options or select which ones you'd like to make available. The languages are the ones you have installed in your WordPress set up. → يمكنك تركه فارغًا لعرض جميع اللغات كخيارات أو اختيار اللغات التي ترغب في توفيرها. اللغات هي تلك التي قمت بتثبيتها في إعدادات WordPress الخاصة بك.
List of languages available on this WP install → قائمة اللغات المتاحة في هذا التثبيت WP
After saving the changes you made, a selection menu with the languages you chose will be displayed on the Login page as well as on the Sign-up Flow. → بعد حفظ التغييرات التي قمت بها، سيظهر قائمة اختيار مع اللغات التي اخترتها في صفحة تسجيل الدخول وكذلك في عملية التسجيل.
Language Selector on Login Page → محدد اللغة في صفحة تسجيل الدخول
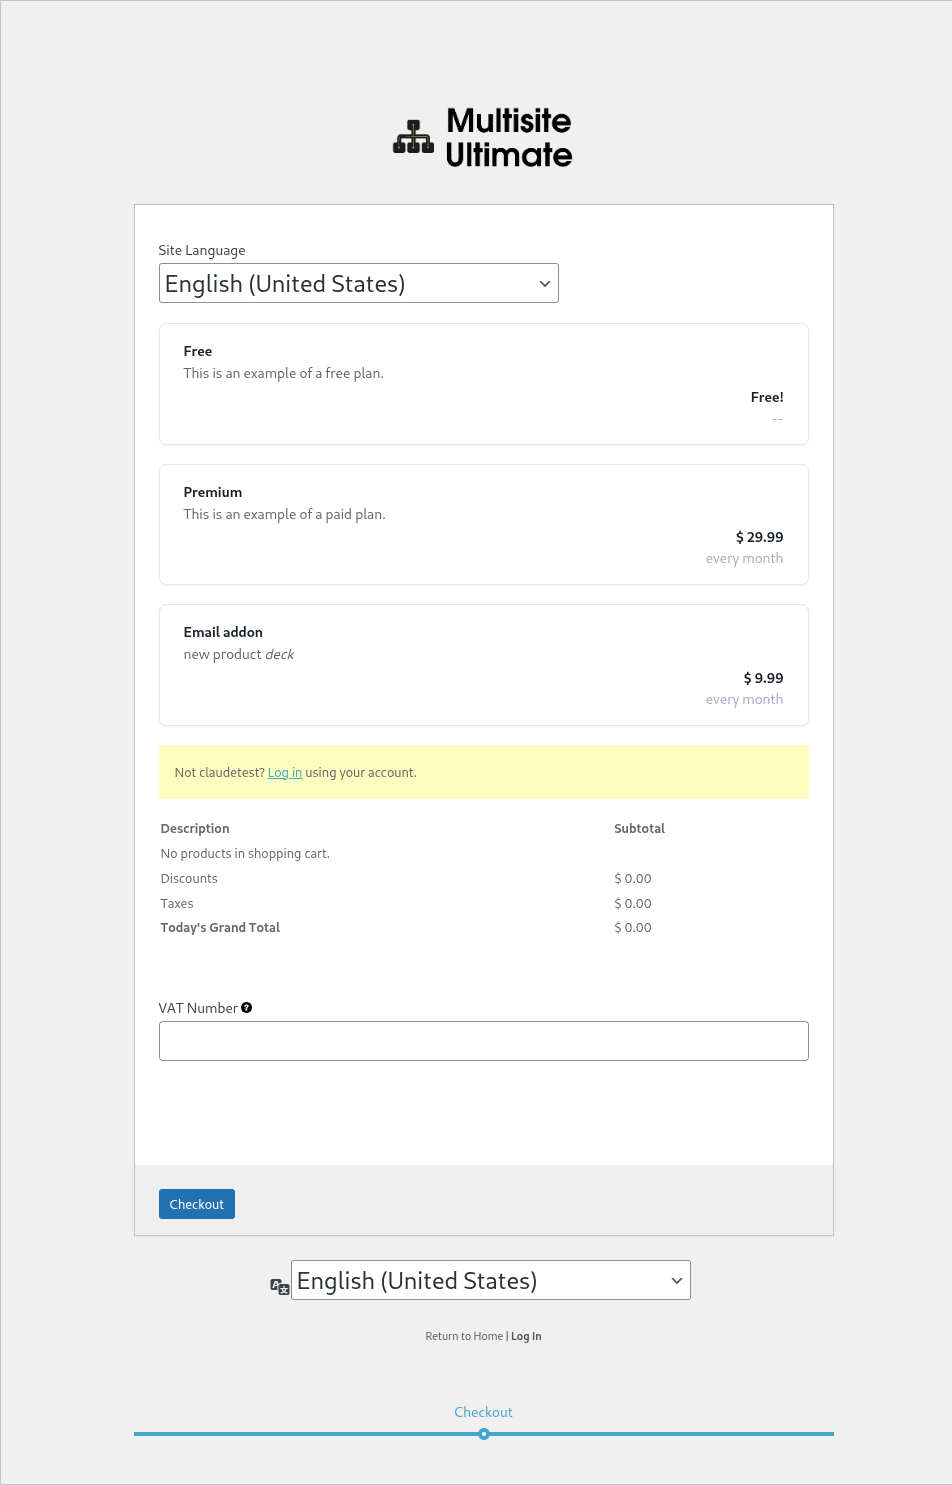
Language Selector on the Sign-up Flow → محدد اللغة في عملية التسجيل
تعيين اللغة عبر الرابط
You can also change the language of a page bypassing the locale parameter to the URL. If you want to redirect to a register page in Italian, for example, add ?locale=it_IT to the URL. → يمكنك أيضًا تغيير لغة الصفحة بتجاوز معلمة locale في الرابط. إذا كنت تريد إعادة توجيه إلى صفحة تسجيل باللغة الإيطالية، على سبيل المثال، أضف ?locale=it_IT إلى الرابط.
https://yournetwork.com/wp-signup.php?locale=it_IT
The language must be installed on your WordPress network for this to work. → يجب تثبيت اللغة على شبكة WordPress الخاصة بك لكي يعمل ذلك.