Build the account page with native blocks
This is the visual-editor alternative to the shortcode account example. It provides the same nine account features, but uses real Ultimate Multisite blocks inside WordPress Group, Heading and Paragraph blocks. There are no Shortcode or Custom HTML blocks in either native-block page export.
The optional example canvas and stylesheet are shared between both versions. The page content remains editable block by block: change headings, move account widgets, adjust their settings, or replace the surrounding layout with your own.
The screenshots and verification use the native-block repairs proposed in plugin PR #2086: styled iframe previews, correctly typed settings, and early detection of settings inside Groups/Columns. Use the release containing these fixes on production. The block editor shows sample preview data, not the account of the administrator editing the page. Test the published page as a customer before launch.
1. Insert the native account blocks
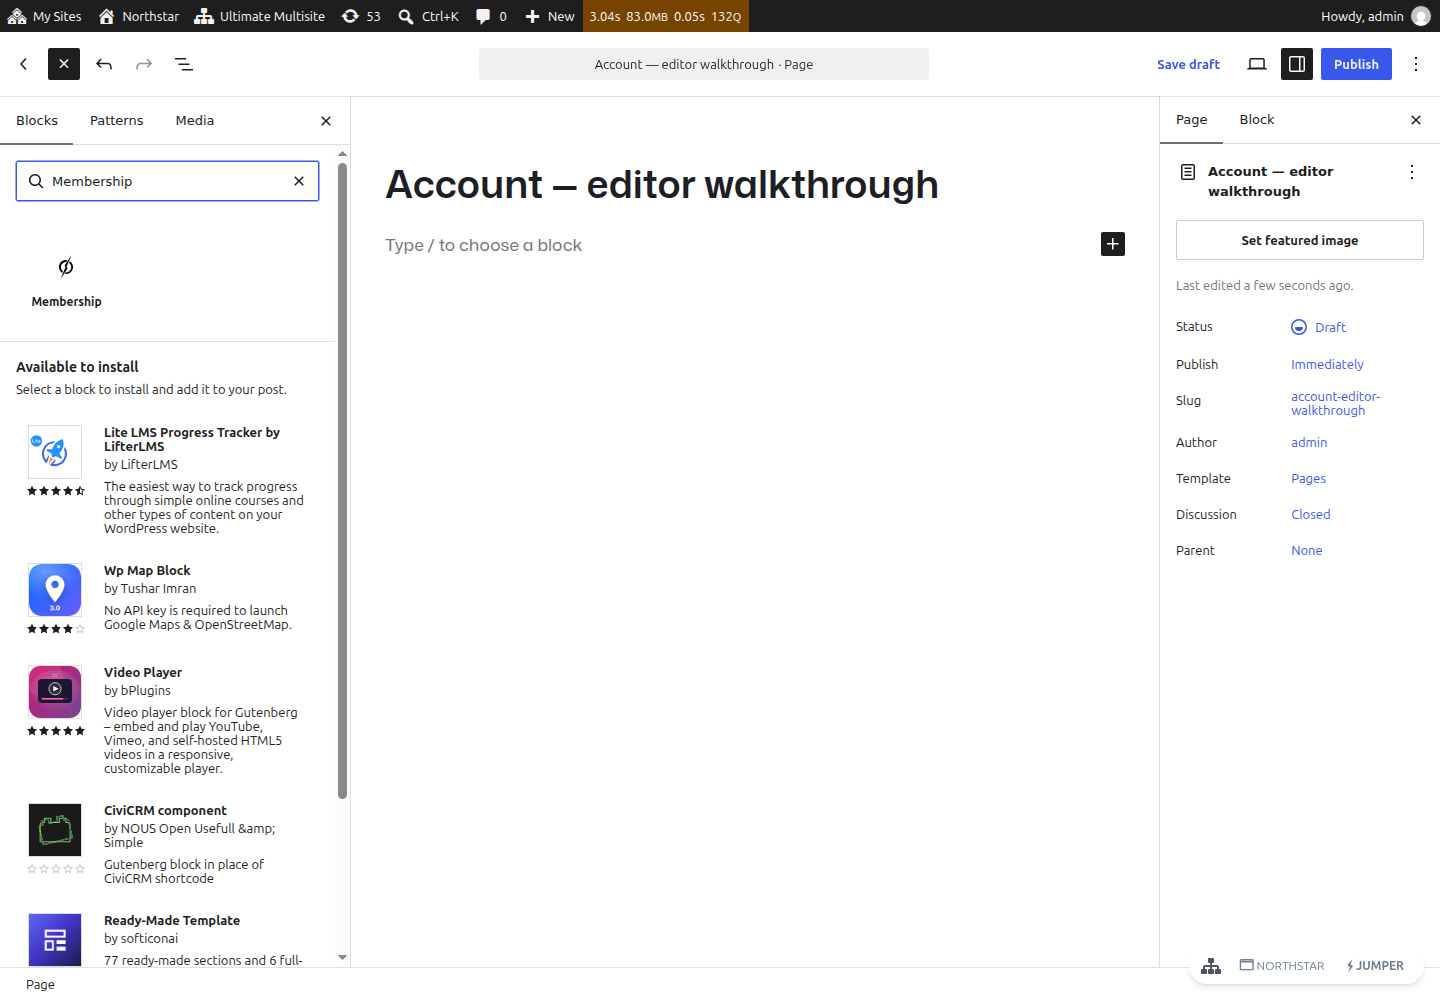
Create a published page on the network main site, not a customer-owned subsite. Use + Block Inserter and search for each block by its name below. For example, search Membership and select Ultimate Multisite's Membership block. Do not insert a Shortcode block and paste shortcode text for this version.
| Native block name in the inserter | Block identifier | Shortcode equivalent |
|---|---|---|
| Membership | wp-ultimo/current-membership | [wu_current_membership] |
| My Sites | wp-ultimo/my-sites | [wu_my_sites] |
| Site | wp-ultimo/current-site | [wu_current_site] |
| Account Summary | wp-ultimo/account-summary | [wu_account_summary] |
| Limits & Quotas | wp-ultimo/limits | [wu_limits] |
| Billing Information | wp-ultimo/billing-info | [wu_billing_info] |
| Payment Methods | wp-ultimo/payment-methods | [wu_payment_methods] |
| Invoices | wp-ultimo/invoices | [wu_invoices] |
| Actions | wp-ultimo/site-actions | [wu_site_actions] |
You can start with these nine blocks in a vertical stack in any theme. Put Membership and My Sites near the top. Site, Account Summary and Limits & Quotas refer to a selected site; they do not replace the account-wide membership card.
For the styled layout, use the page export in step 4. To build your own layout, add Heading blocks for Membership, Sites, Billing and Settings, and wrap related widgets in Group or Columns blocks. List View lets you select nested blocks and move whole sections without editing code.

2. Configure the block inspector
Select a widget, open Settings → Block, and use its controls. These are the same widget options exposed by shortcode attributes, presented as form controls.
- Membership: leave Title blank when your layout already has a membership heading. Turn Display Product Images off for the text-first example.
- My Sites: choose Same Page for Site Manage Type, Owned for Which sites to show, 2 columns, and turn Display Site Screenshot off. The native Manage links then select the site on this account page.
- Site: turn the screenshot off if you do not have useful site previews. Keep breadcrumbs and the admin link if customers should have those routes.
- Billing Information, Payment Methods, Invoices, Account Summary and Limits & Quotas: edit their titles as needed. Invoice count limits how many payment records are shown; it does not create example invoices.
- Actions: choose whether to expose password, email, default-site and payment-method links. Visibility options do not grant authorization.
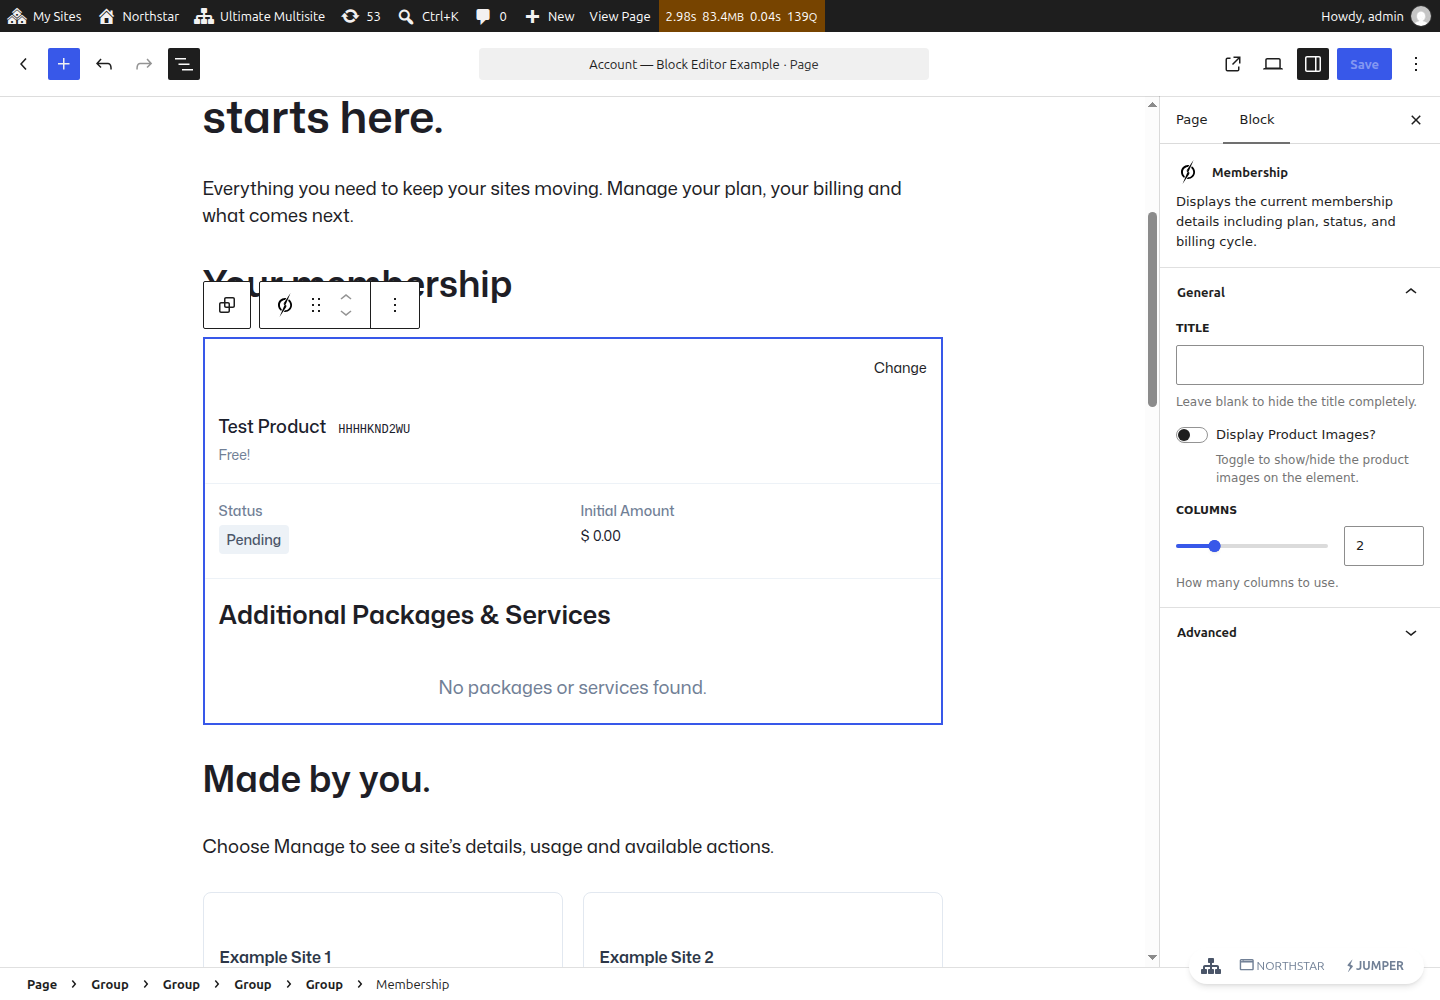
If you choose Custom Page in My Sites, search for a published main-site management page in Manage Redirect Page. That destination needs the relevant Site, Account Summary, Limits and Actions blocks. For this combined-page layout, leave Same Page selected. Save, reload and check the settings remain selected.
Editor previews are not live customer operations. Some preview information is fictional, and empty states depend on the widget. Do not use editor-preview links to cancel, delete or manage a real customer. Use a separate customer browser for the published-page checks below.
3. Create the matching native Checkout page
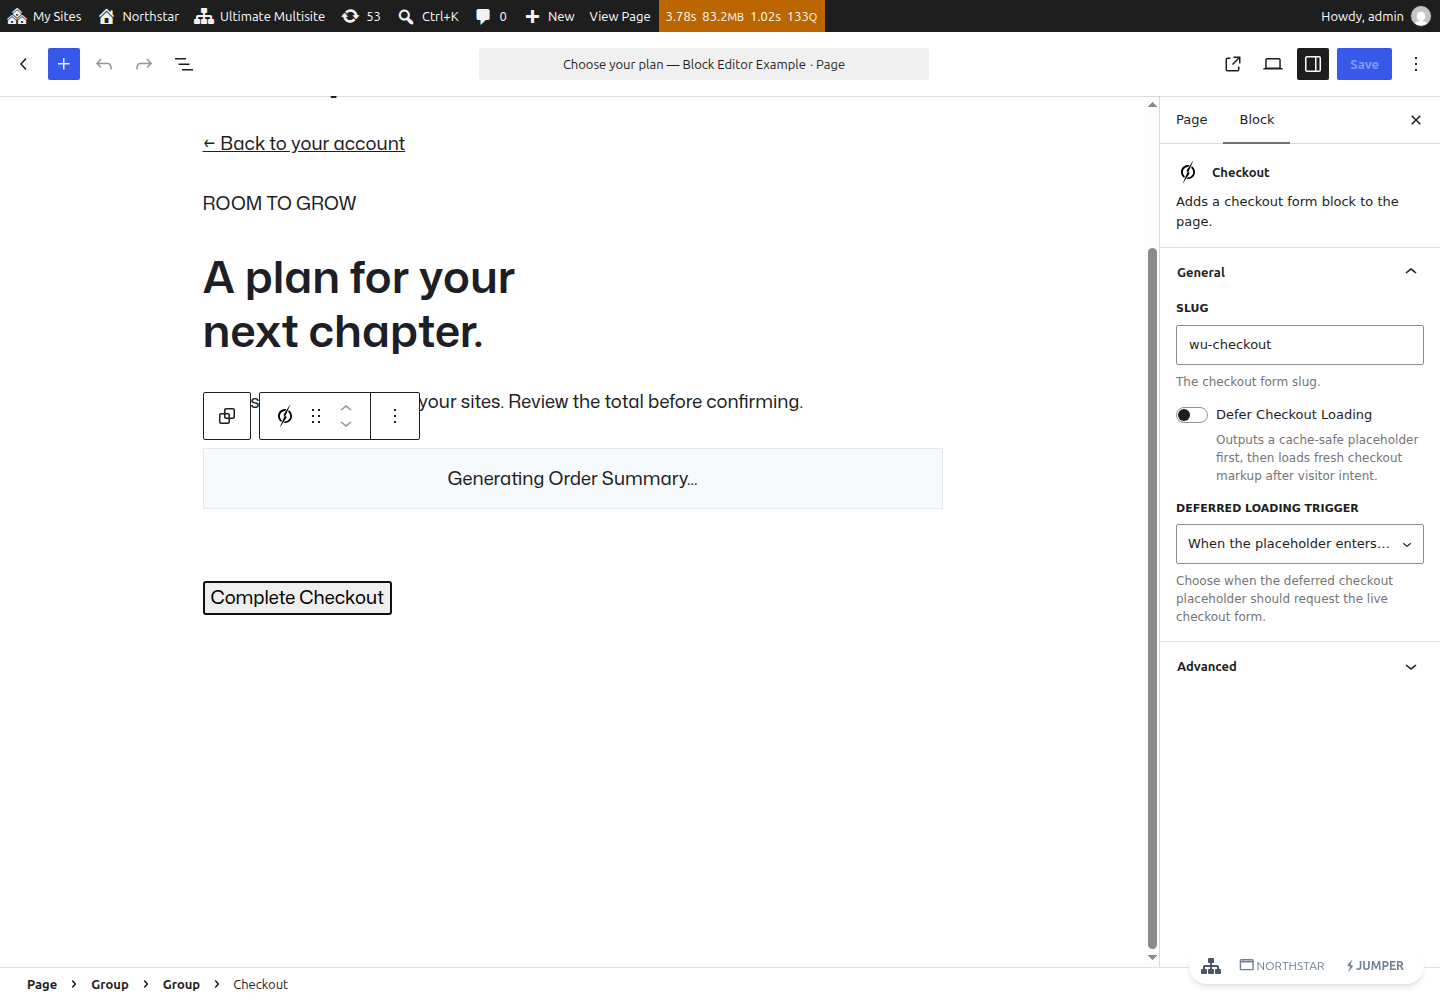
Create a second main-site page for membership changes. Insert the Checkout
block (wp-ultimo/checkout) and select your published checkout form in its
inspector. This example uses the form slug wu-checkout; replace it with the
form actually configured on your network.
Publish the page, then select it as Network Admin → Ultimate Multisite → Settings → Memberships → Default Membership Update Page. There is one shared default for the network, not a separate default for each account example. Choosing the block Checkout page changes the destination of native membership Change links on both account pages. Keep the membership query generated by those links; a bare navigation link to checkout is not equivalent.
The examples use /account-blocks/ and /membership-blocks/. Select the block
Checkout page to demonstrate the complete all-block journey. You can keep the
original /account/ and /membership/ shortcode pages for comparison; both
account pages' Change links always use the one shared membership-update setting.
4. Reproduce the styled example without writing layout code
Download the example plugin and both page variants
Use the shared installation steps for the optional canvas plugin and Ollie theme. Then:
- Create the Account page and switch the editor to Options → Code editor.
- Paste the entire contents of
account-blocks.htmlfrom the ZIP, including the block comments. Switch back to Visual editor. WordPress recognizes the saved blocks; this is a one-time import, not a Code block. - Choose Account workspace (example) as the page template, then save.
- Repeat for the plans page using
plans-blocks.htmlfrom the ZIP and the same template. Change its Back to your account link if your account slug or WordPress installation directory differs. - Configure the Checkout block's form and the shared membership-update setting.
The exported pages were saved and reloaded in the real WordPress editor. No Python tool, generation script, build command or page-builder plugin is needed. All seven files, including both native page exports, are displayed in full in the shared source reference.
Editing the design visually
The imported Group blocks use Advanced → Additional CSS class(es) to connect to the optional stylesheet. Keep these classes when moving sections:
| Group class | Purpose |
|---|---|
ums-workspace | Whole two-column workspace |
ums-sidebar, ums-nav | Desktop sidebar/mobile section links |
ums-content, ums-intro | Main column and welcome panel |
ums-section, ums-section-heading | Section spacing and headings |
ums-card | Card surrounding a native widget |
ums-site-detail, ums-detail-grid | Selected-site and paired detail layouts |
ums-plans | Membership-update page wrapper |
Set the section Group's Advanced → HTML anchor to overview, sites,
billing or settings, matching its section link. Headings and paragraphs remain
normal editable blocks. The example's navigation paragraphs use zero top/bottom
margins in Dimensions so the native block theme does not add large gaps.
If using your normal theme template instead of the example canvas, add your own signed-out access handling. The optional canvas displays a sign-in screen and does not render private widgets for guests. Server-side ownership checks remain required in either case.
5. Test the published page as a customer
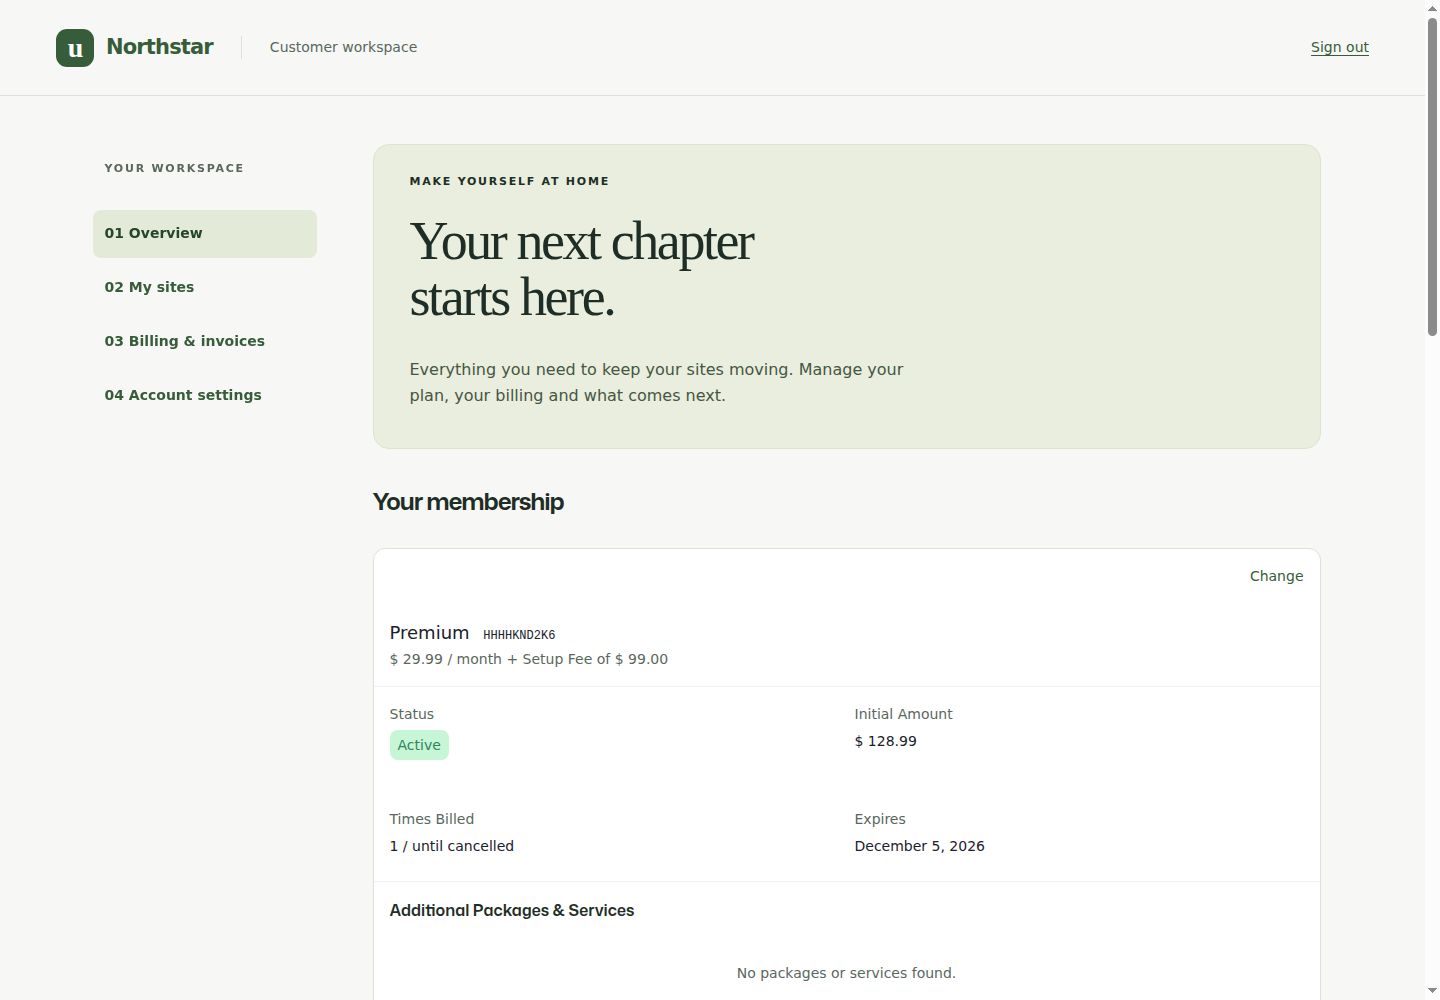
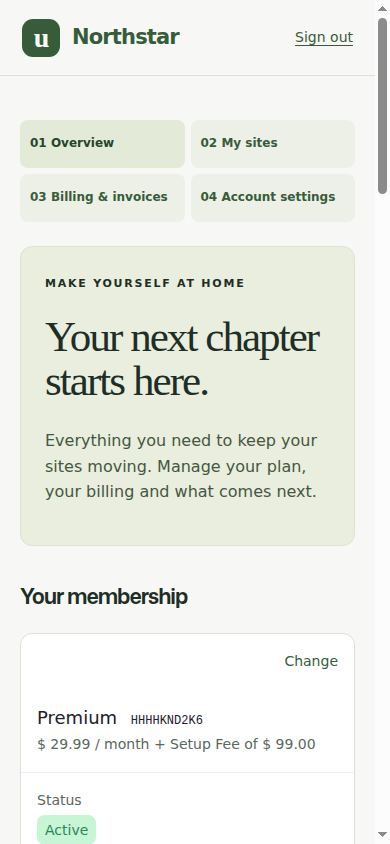
- Sign in as a disposable customer with a membership and two owned sites.
- Confirm Membership, billing, payment method and invoices show that customer's records—not the sample data from the editor.
- Use My Sites → Manage. Confirm the URL stays on this account page and the keyboard focus moves to the selected Site controls. Account Summary and Limits & Quotas should now describe that site. Your Sites clears selection.
- Open Billing Information → Update, save a reversible change, reload, and verify the membership's saved billing address. Customer-default and membership billing addresses are distinct; check the membership record.
- Follow Membership → Change into your configured Checkout block page. Select a plan, review the total, complete a disposable change and inspect the saved membership. A scheduled downgrade should record its future swap date while leaving the active plan in place until that date.
- Test Actions, invoice PDFs and gateway-supported payment changes as described in the account walkthrough. The Manual example does not fabricate a Stripe card-change button.
- Sign out and test narrow-screen navigation and keyboard access. Keep all account/checkout/selected-site routes out of full-page and CDN caches.
What was verified for this example
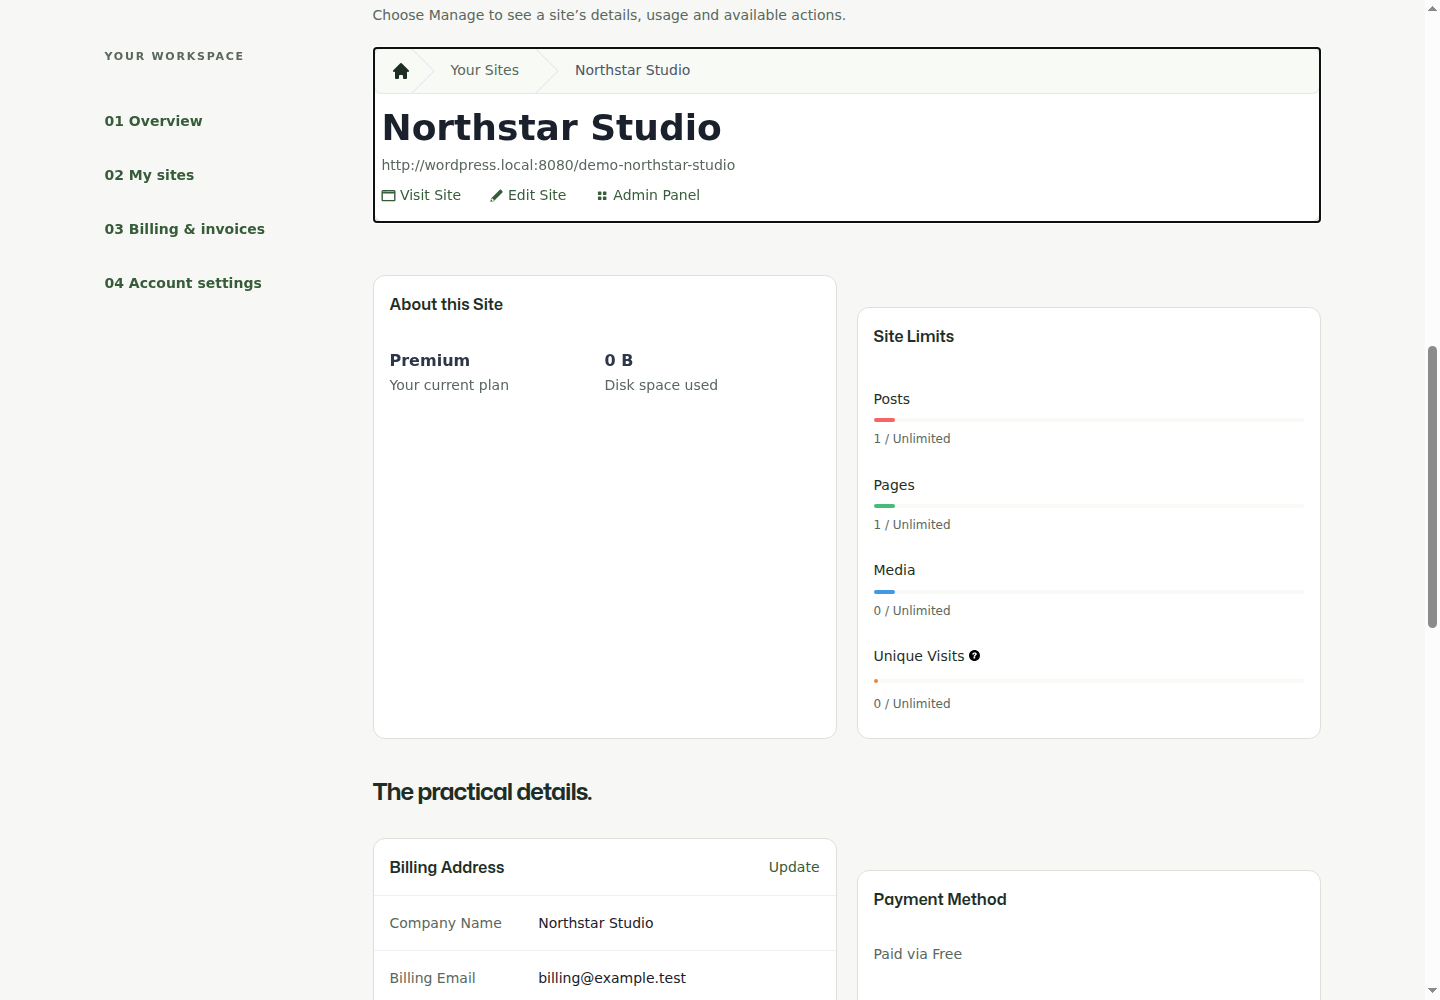
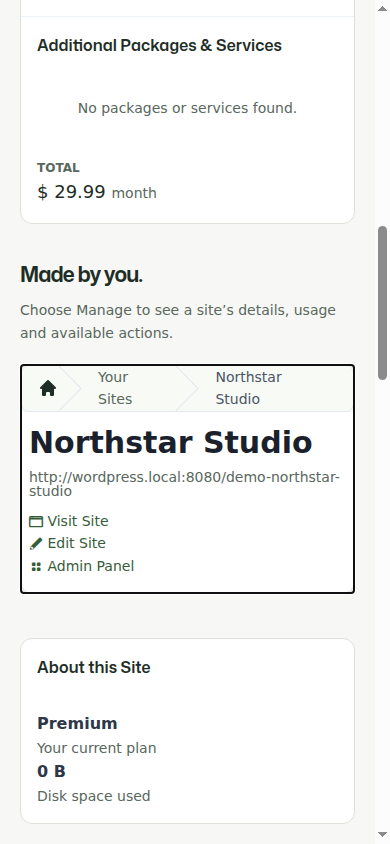
The native block page was saved and reloaded without invalid blocks. Membership column changes remained numeric, image toggles persisted as booleans, and a published custom management-page selection survived reload before being returned to Same Page. Native preview styles loaded inside the editor iframe.
On the published page, guest sign-in, site selection/focus, account summary, limits and billing changes were exercised. A real zero-dollar downgrade was submitted through the nested Checkout block and its scheduled swap was verified in the membership, not inferred from the Thank You screen. The schedule and temporary billing changes were then removed from the demo fixture. No live charges or production customers were involved.
This block-specific pass does not repeat the earlier genuine Stripe sandbox replacement/cancellation or every destructive account action. Blocks and shortcodes share their server renderers and action handlers, but test your own gateway and network settings before launch.
Troubleshooting blocks
| Symptom | Check |
|---|---|
| You can only find Shortcode, not Membership/My Sites | Confirm Ultimate Multisite is active and you are editing a main-site page; check editor restrictions and browser errors. |
| Preview is plain unstyled text | Use the release with iframe preview styling; the widget framework must load in the editor canvas, not just its parent admin window. |
| A setting changes, then disappears after saving | Check block attribute types and release compatibility. Number controls must save integers, toggles booleans, and page selections strings. |
| A Group/Columns Checkout uses the wrong form | Use the release that extracts nested block settings during early setup; verify its selected form after reload. |
| Preview has different data from the published page | Expected: editor previews use sample data. Inspect the customer view in a separate signed-in browser. |
| My Sites disappears after Manage | The selected Site view replaces the chooser. Use the Your Sites breadcrumb to return. |
| Change uses the other example's checkout | There is one network-wide Default Membership Update Page. Select the desired published checkout page there. |
| The design loses its sidebar or cards | Preserve the Group classes/anchors and example page template, or intentionally replace the optional presentation layer with your theme's styling. |